


Custom Ribbon Printing Artwork: Three Approval Steps
Evidence and specification note: Color targets, tolerances, test methods, documentation, acceptance criteria, and remedies must be confirmed for the quoted material and written into the approved sample, specification, and sales agreement. General scenarios in this article are not guaranteed production results. custom ribbon artwork specs is the first checkpoint buyers should lock before they approve…
custom ribbon artwork specs is the first checkpoint buyers should lock before they approve a supplier, budget, or production slot. You’ve got a Pantone reference, a vector logo, and a tight launch deadline. Sending that artwork to a ribbon factory should be straightforward — but the real pain begins when the first bulk batch arrives with a color shift that’s just not acceptable. That’s why getting the custom ribbon artwork specs right upfront isn’t just a pre-production checkbox; it’s the single most effective way to avoid a dispute risk that the industry sees when physical sampling gets skipped.
Most suppliers will tell you to ‘just send your file.’ They don’t talk about the spectrophotometer buyer-approved ΔE tolerance they use to match Pantone C/U, or the 1/8-inch bleed zone required to keep foil stamping from creeping off the edge. Those details separate a factory that delivers consistent luxury-grade ribbons from a trading company that ships whatever passes as ‘close enough.’ For a cosmetics launch or seasonal collection, close enough means a recall.
Define and verify the buyer-approved defect criteria
The color target, measurement method, lighting conditions, and acceptance tolerance are confirmed against the buyer-approved sample and written specification.
- RGB files: Screen colors (RGB) do not map 1:1 to production inks (CMYK). Always convert to Pantone C/U or CMYK before export.
- Low resolution (below 300 DPI): Raster images (JPEG, PNG) submitted at 72 or 150 DPI will appear pixelated when printed at full ribbon width. The minimum bar is 300 DPI at final print size.
- Missing bleed and safe zone: Ribbon is cut from a continuous roll. Artwork that extends exactly to the cut line risks white edges or cropped text after slitting. Standard spec: 1/8-inch bleed beyond the cut line and a 1/8-inch safe zone inside it. Keep all logos and text inside the safe zone. For foil stamping, minimum text size is 8pt; for screen printing, 6pt.
These three errors drive many file rejections. But there’s a larger pattern: many post-production disputes originate from skipping the physical sample and artwork review step. A digital proof cannot replicate how ink sits on grosgrain or how foil reflects on velvet. That’s why our workflow mandates a physical sample before bulk production—it catches color drift, bleed alignment, and print resolution issues that a PDF never will. Sending a vector file (AI, EPS, or PDF) with the correct specs is step one. Letting the factory produce a physical proof is the step that saves your launch timeline.
Artwork File Formats: Vector vs Raster for Ribbon
Vector files scale from 3mm to 102mm without pixelation — raster won’t.
Ribbon production requires artwork that stays sharp across widths from 3mm (create a thin accent) up to 102mm (wide award sash). Vector formats — AI, EPS, or PDF — are mathematically defined, so your logo or text remains crisp at any size. Raster files like JPEG or PNG are pixel grids; they blur when enlarged. For a 25mm wide ribbon, a 72 DPI web JPEG will look fuzzy; at 300 DPI at final print size, it’s acceptable only if the design is simple and the ribbon width is fixed.
- Vector (AI, EPS, PDF): Scalable to any ribbon width. Text remains sharp. Preferred for logos, fine foil stamping, and multiple color separations. No resolution cap.
- Raster (JPEG, PNG): Must be at least 300 DPI at the exact final ribbon width. Acceptable for photorealistic images but risk pixelation on narrow widths (<10mm). Low-res files (below 300 DPI) are rejected.
Material texture directly affects print sharpness regardless of file type. On smooth satin, even a 300 DPI raster prints cleanly. On velvet or grosgrain, the raised fibers soften edges — vector outlines hold up better because the ink deposit is controlled by screen mesh, not pixel density. Foil stamping on textured material demands vector art; any raster edge fuzz becomes a blurred hot-stamp line. A factory that understands this will reject a low-res JPEG for a velvet ribbon run before it ever reaches the press.
Color Matching: Pantone, CMYK, and Spectro Tolerances
Spectrophotometer verification checks the buyer-approved ΔE tolerance on each substrate.
RGB is a display color space, not a production one. Every artwork file must be converted to either CMYK or Pantone C/U reference. Submit your Pantone numbers (C for coated, U for uncoated) with the artwork — the factory spectrophotometer then measures the physical sample against that standard. Without this step, your on-screen blue will print as a different hue on satin vs. velvet.
- Any quality guarantee, acceptance threshold, and remedy must be stated in the approved specification and sales agreement.
- Pricing differences among materials, widths, print methods, quantities, and packing must be calculated from dated quotations for the same approved specification.
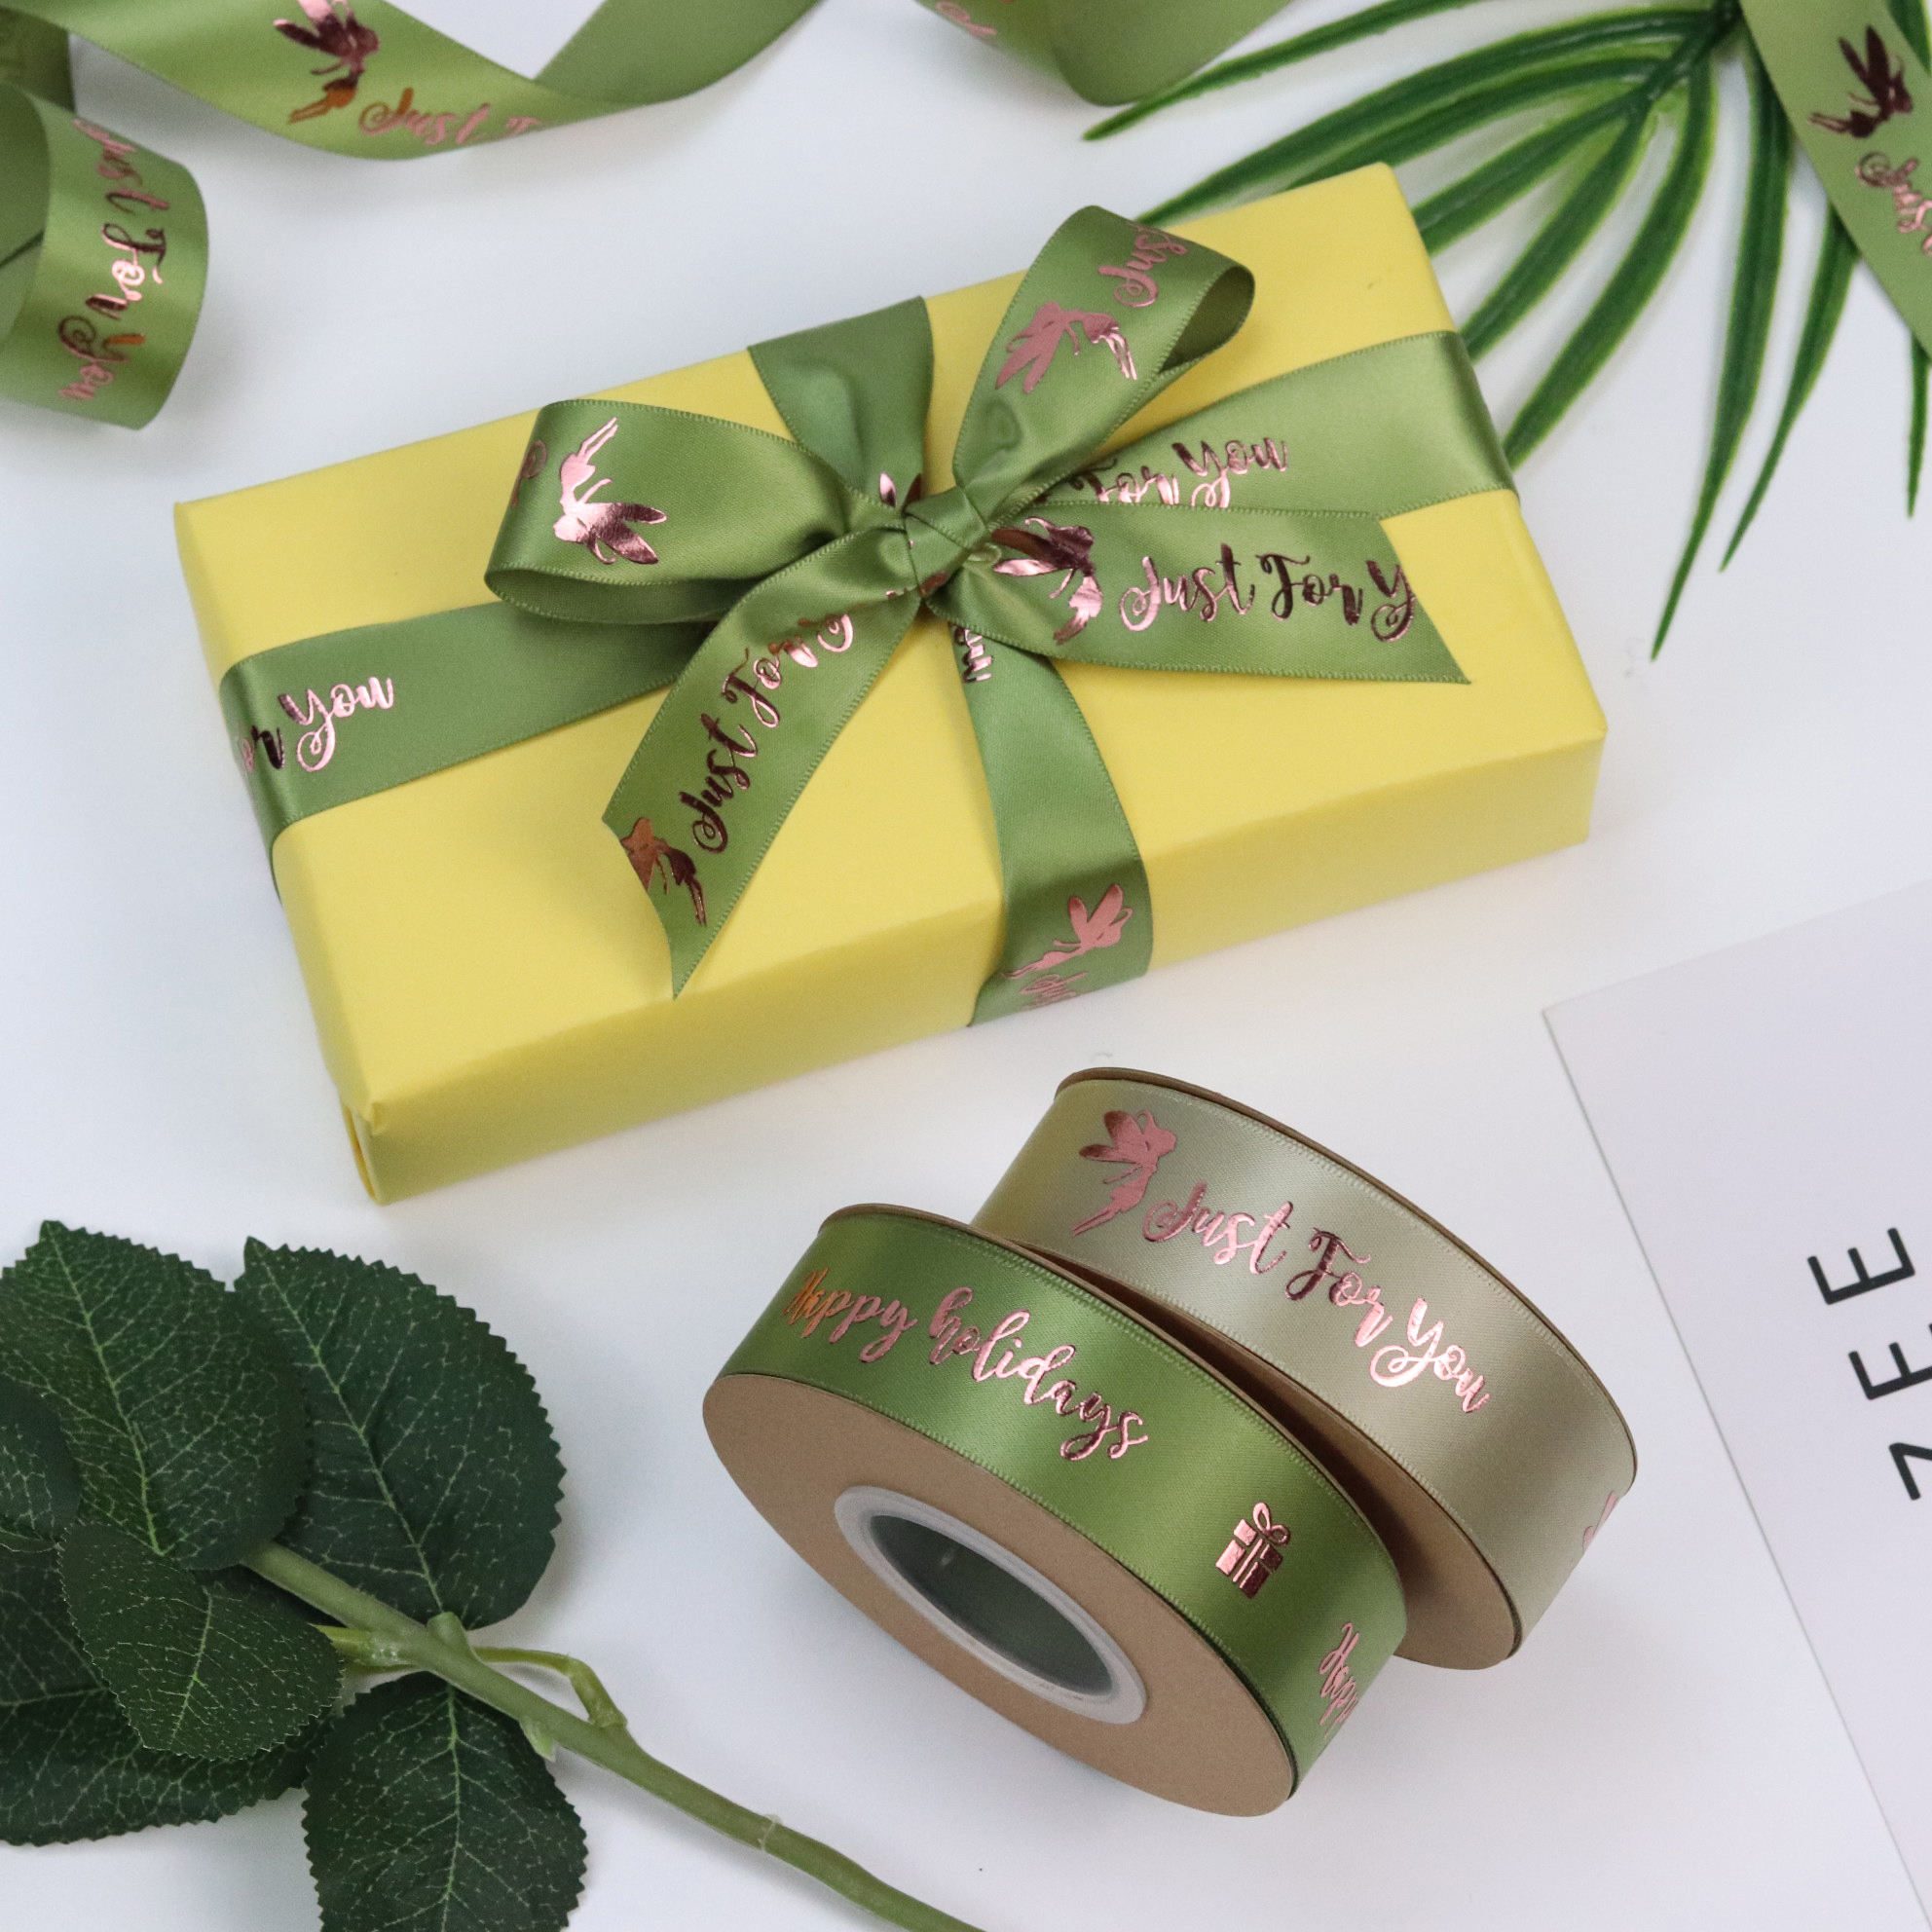
The 3 Critical Specs: Bleed, Safe Zone & Text Size
Bleed, safe zone, and text size are the three non-negotiable layout specs. Ignore any one and your custom ribbon artwork will be rejected before it reaches the press.
- Bleed (1/8 inch beyond cut edge): Extend background colors or patterns 1/8 inch past the final cut line. Without bleed, even a 0.5mm cutting shift leaves a white edge – a defect luxury packaging buyers reject immediately.
- Safe Zone (1/8 inch inside cut edge): Keep all logos, text, and critical design elements at least 1/8 inch from the cut line. Any content placed outside the safe zone risks being trimmed off or positioned too close to the ribbon edge, creating an unbalanced appearance.
- Minimum Readable Text Size: Screen-printed text must be at least 6pt; foil-stamped text requires 8pt minimum. Foil stamping deposits a thicker layer that spreads slightly, so smaller characters bleed together. Test at 6pt on ribbon and it’s unreadable.
Contrast rule: dark inks (Pantone blacks, deep blues) print cleanly on light satin or grosgrain. Light foils (silver, gold, white) show best on dark velvet or matte cotton. The substrate’s texture absorbs or reflects light differently – velvet’s pile diffuses foil, requiring the lightest metallic finishes to maintain legibility.
| Feature | Specification | Note |
|---|---|---|
| Bleed Zone | 1/8 inch (3.2mm) beyond the final cut line | Prevents white unprinted edges after trimming; essential for edge-to-edge color ribbons. |
| Safe Zone | 1/8 inch (3.2mm) inside the cut line | All text, logos, and critical design elements must stay within this area to avoid being cut off. |
| Minimum Text Size | Screen print: 6pt | Foil stamp: 8pt | Foil requires thicker lines; smaller text risks illegibility. Contrast tip: dark ink on light satin, light foil on dark velvet. |
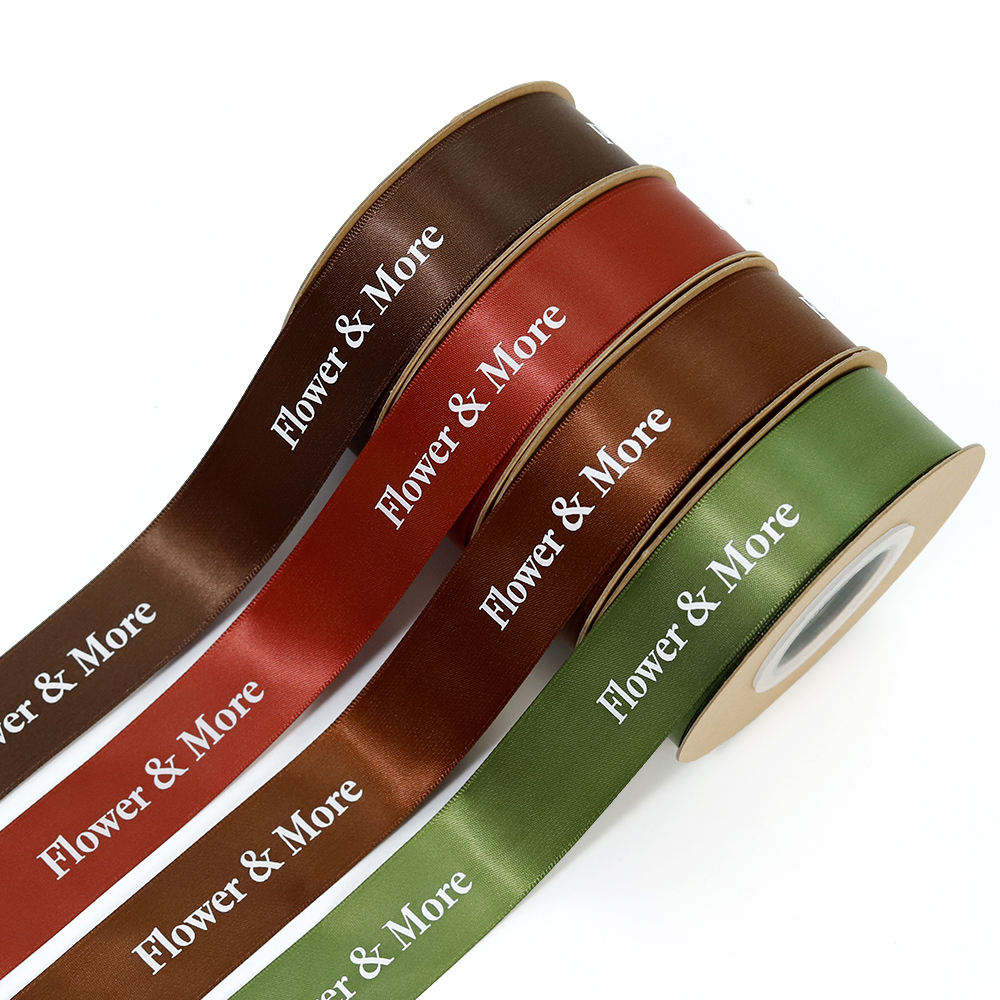
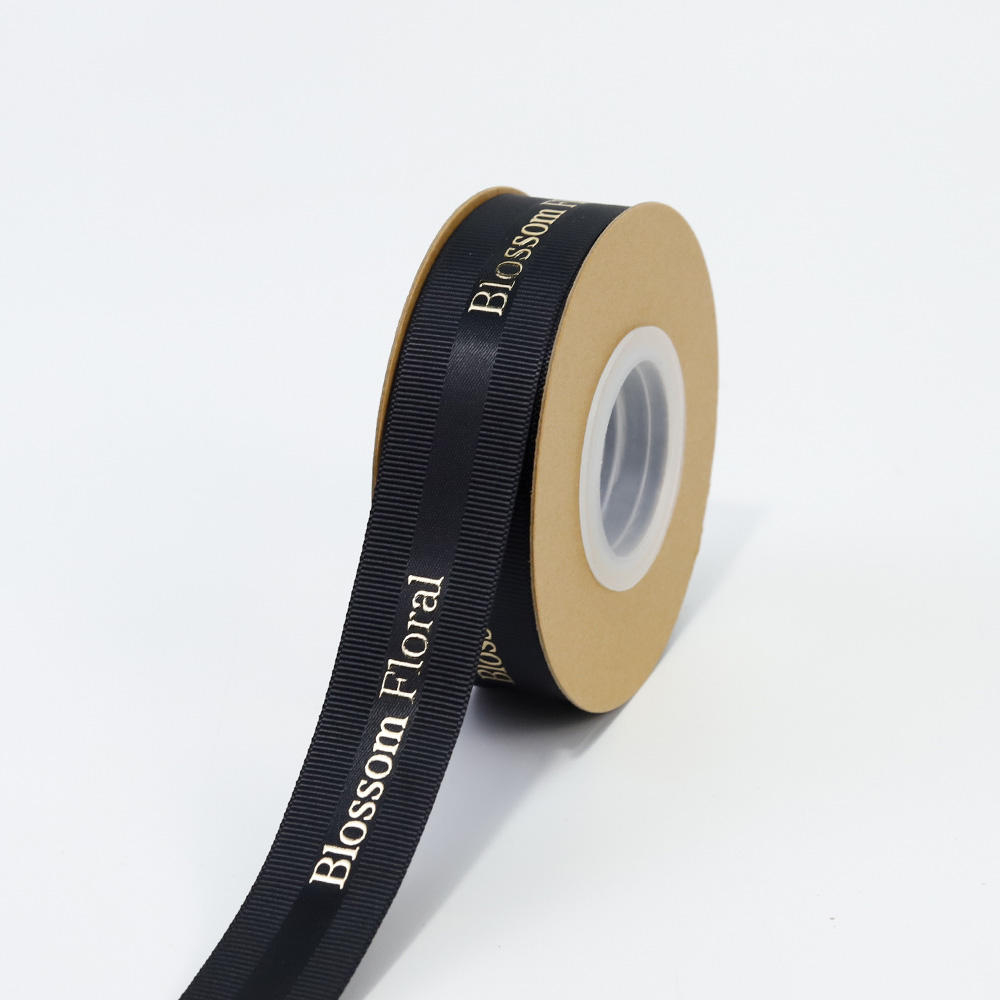
How to Send Your Artwork Like a Pro (Template Included)
Skip the factory template and you risk a high chance of post-production disputes.
Every custom ribbon order starts with a file. Send the wrong format or miss the bleed zone, and your Pantone-matched color gets cut off at the edge. The fix is straightforward: use the factory-supplied template. It includes the exact cut line, safe zone, and bleed margin for your chosen ribbon width. Download it from the product page or ask your sales contact for the link.
- Bleed & safe zone: Extend all background art 1/8 inch (3.2 mm) beyond the final cut line. Keep logos, text, and critical design elements at least 1/8 inch inside the cut line. Anything closer will be trimmed or risk misalignment on the roll.
- Text size minimum: Screen-printed text must be at least 6 pt. Foil-stamped text needs 8 pt minimum – smaller than that and the foil tears during transfer. Light foils (gold, silver) on dark velvet require even larger size for legibility.
- Font conversion: Convert all fonts to outlines (curves/paths) before export. If you skip this, the factory’s prepress system substitutes missing fonts, which shifts your layout. Outlined fonts guarantee the design matches your proof.
- Export format: Use AI, EPS, or PDF with embedded images. Raster elements must be 300 DPI at the final printed size. Vector art scales cleanly across ribbon widths from 3 mm to 102 mm. Avoid sending JPEG or PNG – they degrade and cause blurry print registration.
- Pantone references: Include Pantone C or U codes for each ink color. The factory’s spectrophotometer measures against your code and holds to buyer-approved ΔE tolerance. If you supply RGB or CMYK without a Pantone, the matched color may shift under different lighting conditions.
After you submit the artwork, the factory runs a prepress check. If anything is outside spec, they flag it. Only after you approve the pre‑production physical sample does bulk production begin. That sample is your last chance to catch color or layout issues – use it.
Conclusion
Following the file format, color mode, and bleed guidelines outlined above reduces the risk of production errors. A factory using spectrophotometric matching (buyer-approved ΔE tolerance) catches color mismatches before they hit the loom. Skipping the pre-production physical sample is a common cause of post-production disputes.
For a ready-to-use template that incorporates these specs, visit the Custom Printed Ribbon page. Download the artwork guide and submit your files with confidence.
Frequently Asked Questions
What is the correct process to create a new custom ribbon?
Submit artwork or a physical sample, then the factory confirms feasibility and ships a mandatory physical sample for approval before bulk production. Always sign off on the physical sample before bulk production begins.
How to prepare artwork for printing?
Submit vector files (AI, EPS, or PDF) at minimum 300 dpi in CMYK or Pantone mode with a bleed zone and safe margin. Avoid RGB files and low-resolution images to prevent rejection.
What is the average cost of a personalized ribbon?
Pricing differences among materials, widths, print methods, quantities, and packing must be calculated from dated quotations for the same approved specification.
What ribbon customizations cannot be performed?
Most customizations are possible with proper engineering, but some heavily textured materials like grosgrain or velvet may require special preparation for foil stamping. Very thin organza may not support heavy foil. Confirm feasibility with the factory during intake review.
Keep exploring
Recommended buyer guides
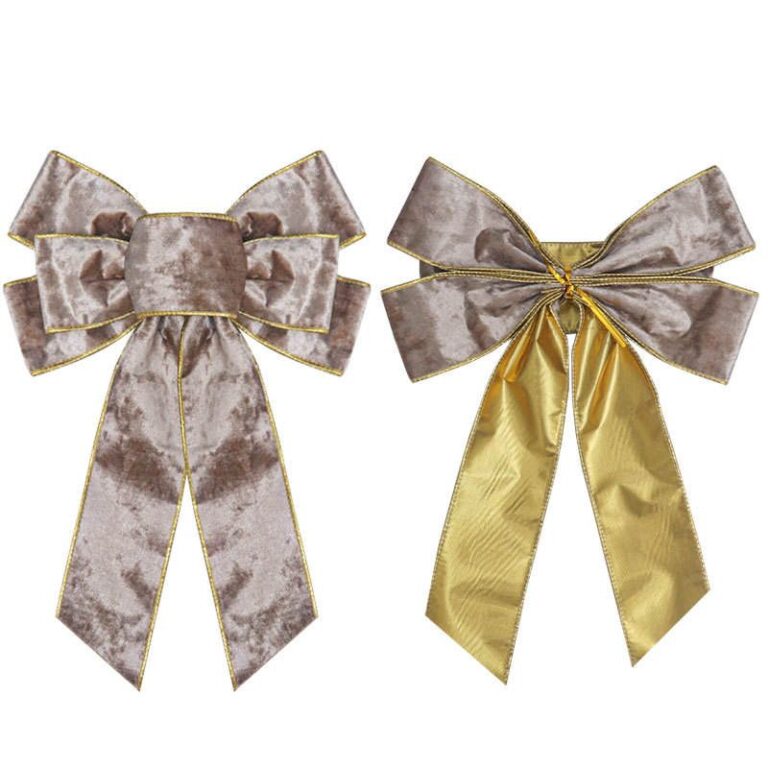 Pre-Tied Bows for Retail Packaging: When They Reduce Labor and Rework
See when pre-tied bows reduce retail packaging labor, improve consistency, and simplify bulk packing, SKU planning, and reorders
Explore guide
Pre-Tied Bows for Retail Packaging: When They Reduce Labor and Rework
See when pre-tied bows reduce retail packaging labor, improve consistency, and simplify bulk packing, SKU planning, and reorders
Explore guide
 Velvet Ribbon Wholesale Checklist: MOQ, Finish, and Supplier Questions
Evaluate velvet ribbon wholesale options: MOQ, setup fees, unit cost, and packing. Narrow the list before requesting samples…
Explore guide
Velvet Ribbon Wholesale Checklist: MOQ, Finish, and Supplier Questions
Evaluate velvet ribbon wholesale options: MOQ, setup fees, unit cost, and packing. Narrow the list before requesting samples…
Explore guide
 Wholesale Custom Ribbon with Logo: Specs, Roll Length, and RFQ Checks
Step-by-step: Custom Ribbon With Logo. Check artwork files, print method, color target, and sample approval to avoid delays,…
Explore guide
Wholesale Custom Ribbon with Logo: Specs, Roll Length, and RFQ Checks
Step-by-step: Custom Ribbon With Logo. Check artwork files, print method, color target, and sample approval to avoid delays,…
Explore guide
 Wholesale Ribbon By The Roll: Roll length and inventory planning
Evaluate Wholesale Ribbon By The Roll options: factory capability, QC proof, lead time, and reorder reliability. Narrow the…
Explore guide
Wholesale Ribbon By The Roll: Roll length and inventory planning
Evaluate Wholesale Ribbon By The Roll options: factory capability, QC proof, lead time, and reorder reliability. Narrow the…
Explore guide
Leave a comment
Share a sourcing question or feedback on this guide. The Lude team reviews submissions before following up.